Cabin Sole Replacement
When we bought the boat it had a distinct diesel smell from a fuel tank leak. The diesel fuel had soaked into the cabin sole and ruined it. We decided the only way to resolve this was to replace the entire sole.
This is probably the best section of sole. Notice the bad teak veneer on the cabinets. The following winter we refaced this and refinished the entire interior.
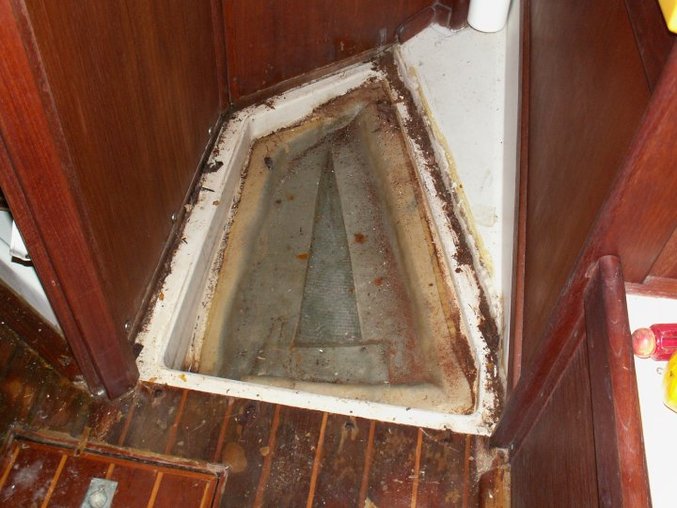
Not too much construction debris under the V-berth. The sole was done before I refinished the interior teak. Go back to the projects section to see that.
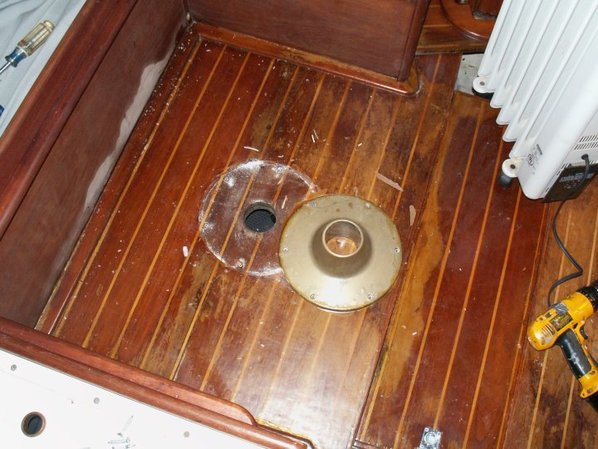
The head was probably the worst. It literally came out in splinters. Originally this was the same section as the salon and the bilge cover extended under the door. I have decided to make this a separate section to allow for easy replacement as the moisture in this area promotes rot. The shower is the separate pan to the right but the vanity and head were leaking for years and that ran right into the edge of this section. I also cut the corner off the bilge cover at the bottom so it can be accessed without opening the head door. Notice the sloppy varnish work on the potty pedestal done by the PO.
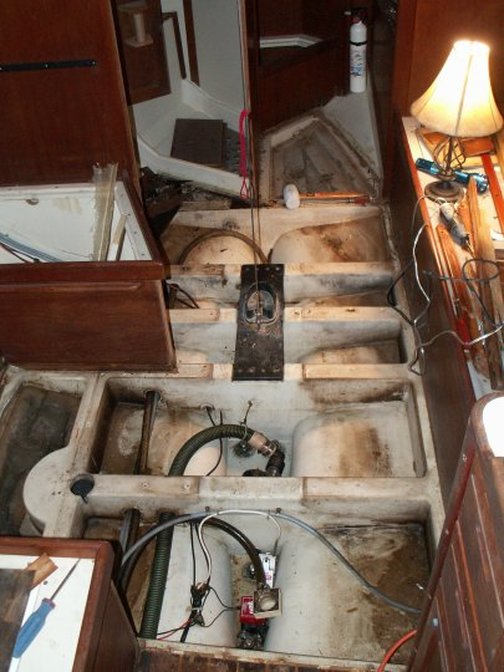
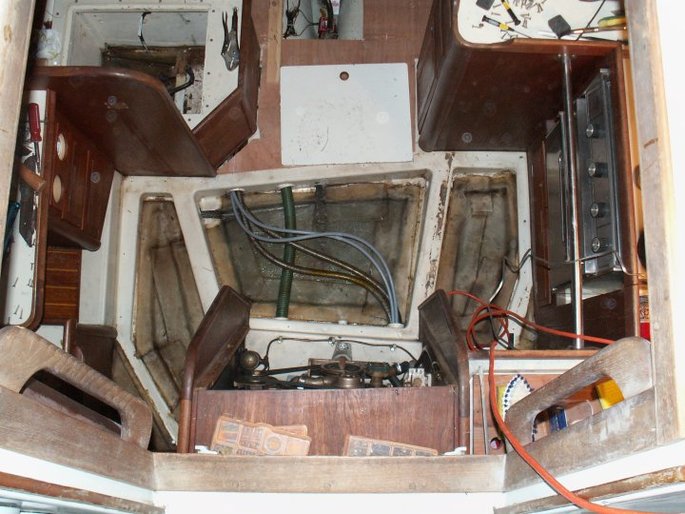
Here you can see the hull liner and the triaxial grid that stiffens the hull and allows offset bulheads which really let Bruce King open up the interior. Many comment on how big she feels below. Again, not too much construction debris but plenty of cleaning to do. Ericson put the mast base on top of the grid to prevent corrosion at the base of the mast.
I built templates out of luan because it was cheap and easy to work with. I then transferred the lines onto my 3/4 plywood. The outside edges did not need to be exact because there is teak trim that runs around the entire sole at the base of the furniture.
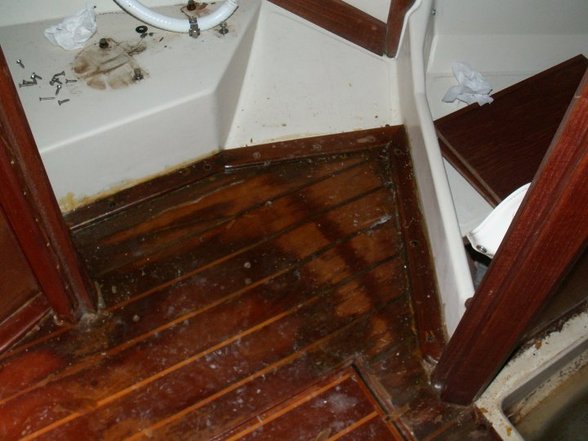
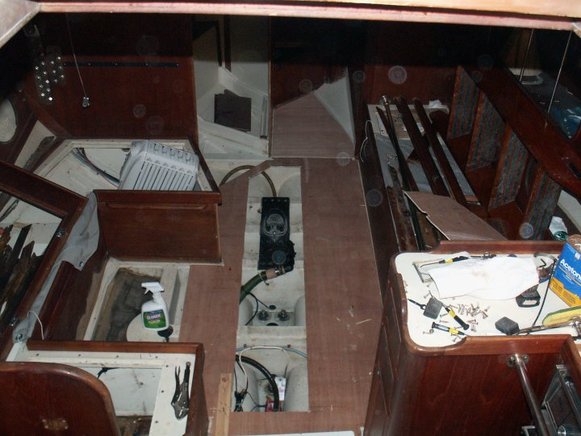
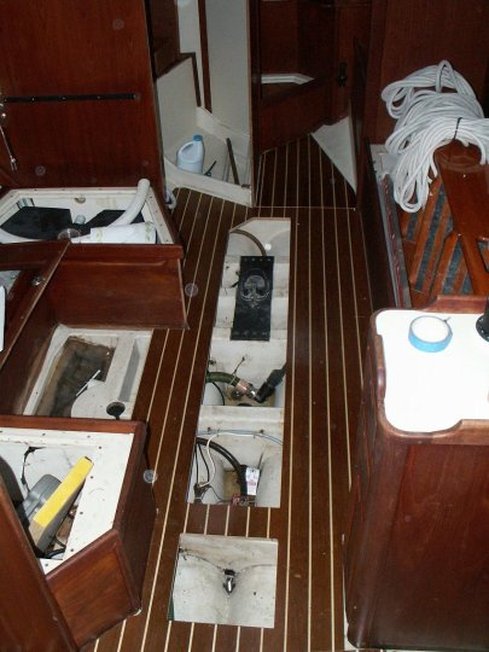
Here is the pan under the companionway, nav area and galley. Lots of diesel contamination here. This sole also came up in small spongy pieces. I moved the seam here to allow me to maximize the size of the salon piece and hide this seam under the welcome mat at the base of the ladder.
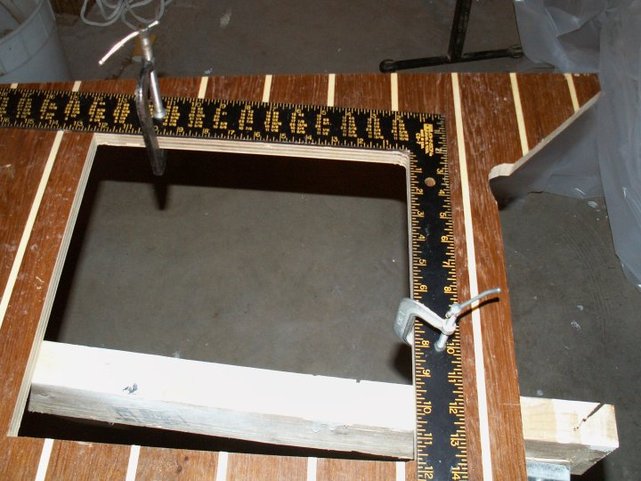
I used a right angle square to get the bilge covers perfectly square to the holly strips and also as a template to cut the corners with a sharp chisel. To minimize splintering I applied sealer and the first coat of varnish to the plywood before cutting.
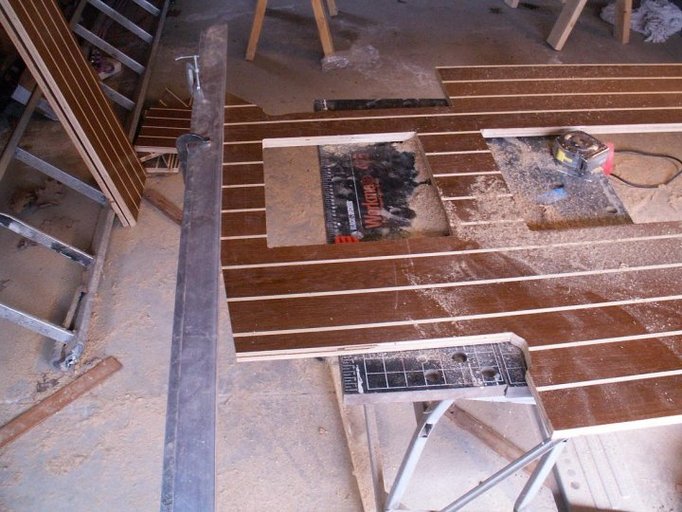
All of the seams were first rough cut a 1/4 over the finished dimension. I then used a straight edge and a straight router bit to obtain a perfect machined edge. All interior bilge cover holes will be finished out in teak trim. All butt seams were cut at a slight angle to ensure a tight fit between sections.

Before installing in the boat I applied the teak trim around the bilge cutouts after sealing all the edges with epoxy. This will get 5 coats of varnish after the sole has been installed in the boat.
Here is the main salon section before applying additional finish. I secured the plywood down with SS wood screws. 3M 101 was used to prevent squeaking and also to fill the old screw holes in the stringers. All screws are coutersunk and finished with 3/8" teak bungs.

The area under the companionway was done in 2 pieces similar to the original as this section is more than 4' wide. Notice the rough edes at the base of the cabinets. This will be covered with 2x3/8" teak trim. Also notice the corner at the bottom left of the photo. This will be a small angled piece that follows the angle of the hull. There is a similar section in the galley to the right.
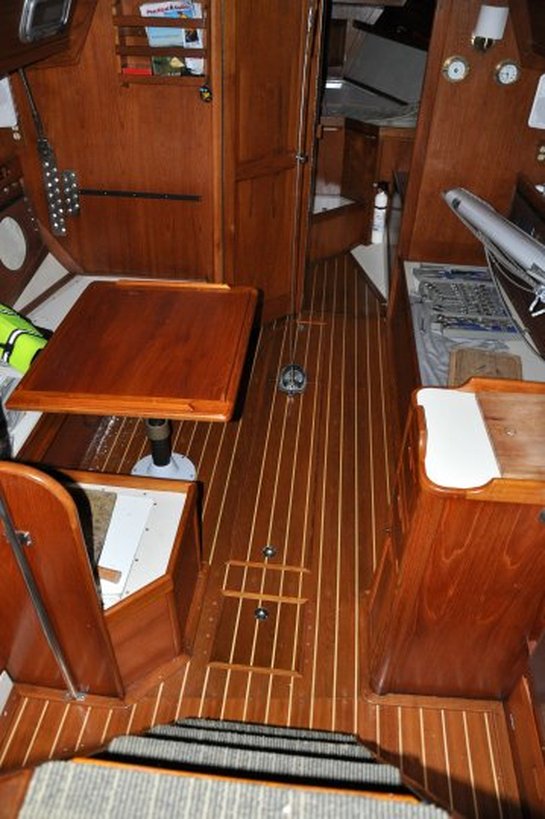
Finished.

Finished.